
I am posting this information with hope that it might help others who are experiencing the same problem. If you find it of good use, please drop me an email to let me know. Please read the disclaimer at the bottom of this document.
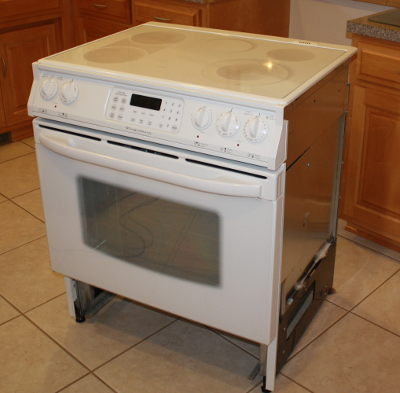
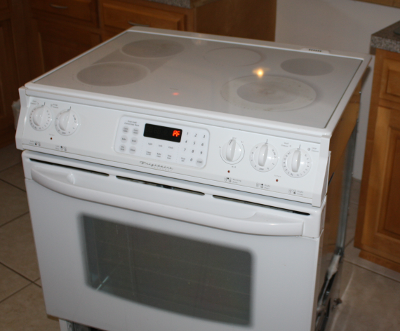
Below is a range which has two top burners no longer working. It is currently a two-burner range. We need to fix it.
Forward
Two of the top burners on our home Frigidaire range stopped working over the past year. The range has been in service for 12 years. The center section of the right-front dual element burner and the front section of the dual burner left-side element no longer work. With both burners out, the range has become frustrating to use with only two functional elements–three if you count the warming element. I need to do something about it.
Options to consider
After some investigation on the Internet the best prices I could find was $200 for the left side burner and $113 for the large right-front burner. What gives with those prices? That’s $313 plus $7 shipping for what amounts to parts that look like they cost less than $10 each to manufacture. These things should not cost more than a simple toaster–about $20 each. I can buy a brand new electric range for less than $500! Why are these parts so expensive? There is simply no way I would spend that much on a 12 year old range! It will get replaced with a new unit if I can’t fix it here and now with my own tools…
The decision
With nothing really to lose with this range, I decide to try to take a rather unconventional approach and repair the range elements by hand. If I could pull this off, it will save us from having to replace the range, which would be about $500 - $700. I decide at this point that I will never buy a glass-top range again and it will not be a Frigidaire. I have been thoroughly dissapointed with all of our Frigidaire appliances, including this range.
Warning
If you decide to try repairing a range based on the information at this site or any other information, then you had better know what you are doing. Most importantly, make sure the range is unplugged before, and while, attempting to perform any work on it. Read the disclaimer at the end of this page.
Proceeding with the repair work…
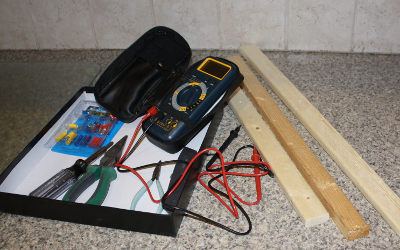
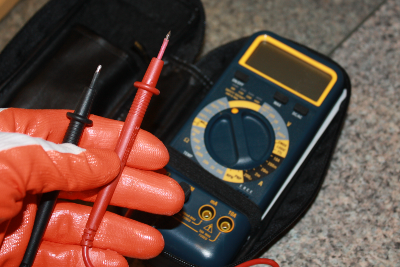
Below are the tools and materials I used for the job. Note the connector kit, in the blue container, which was purchased a few years back at the local hardware store. One of the wooden firring strips will be used to hold up the rangetop.
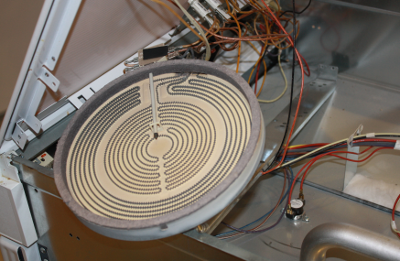
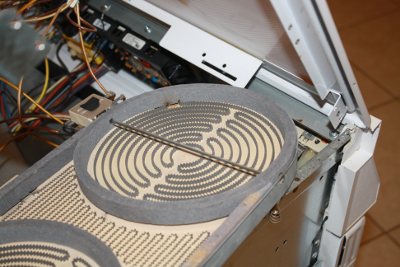
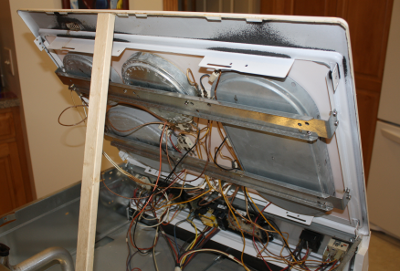
Below is the range which I have already removed from the counter area. It is inplugged and ready to be diagnosed. The remaining pictures tell the story from start to finish.
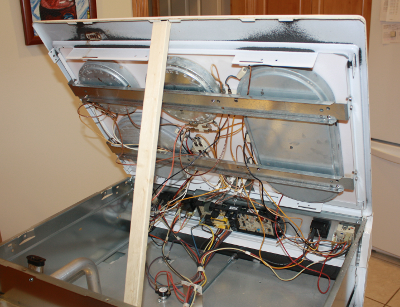
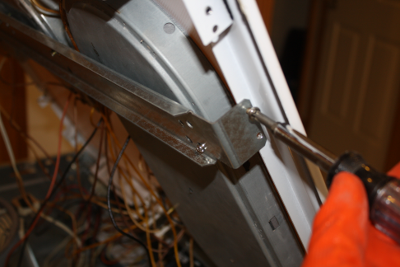
Below I have removed the four mounting scews at the side of the range top and have supported, from the back, the rangetop. This is a view from the rear of the range. I had someone hold the rangetop secure while working on it. There is no hinge at the front to prevent it from sliding out of place and falling–which almost happened to me. Securing it temporarily at the front with duct tape might also have been a good approach.
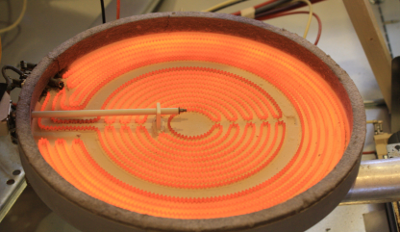
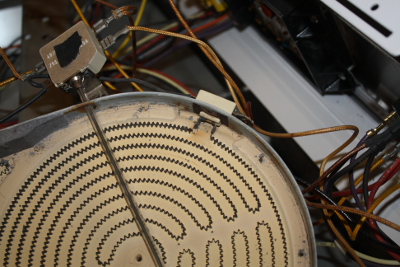
Below is right-front burner element, fully exposed and ready for diagnosis.
Below is a multi-meter which I will be using as a simple continuity tester to try to determine if and where a break in the heating element might be located.
 |
|
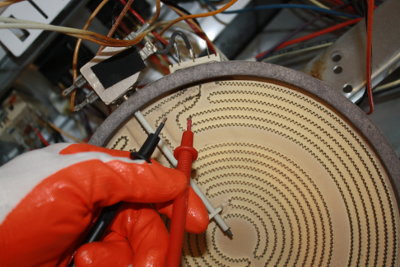
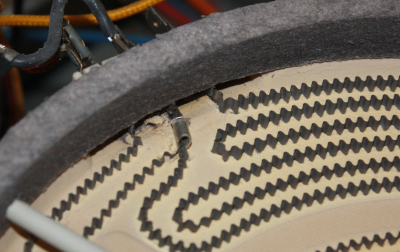
I spent three minutes, or so, testing the continuity on portions of the heating element until I located a break point in the element…
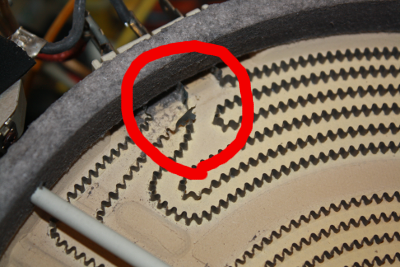
The red circle shows the break point in the heating element. It is the common conductor element for the small center portion of the element. I lifted it slightly from the coil to better illustrate it.
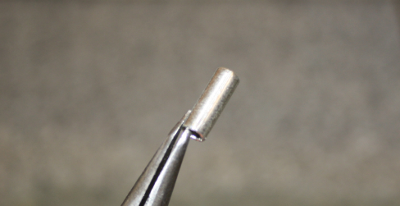
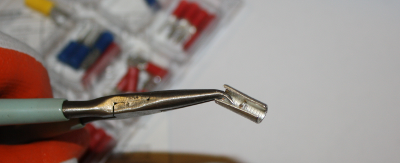
In the next few picures, I fabricate a small specialized crimping connector from a standard aluminum alloy connector in the kit. I will use it to mend the break in the heating element.
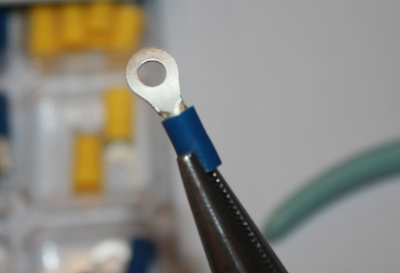
Here below, the crimping connector has been crimped to the element to re-join the broken element along the nearby element for the other section of the burner. The crimp was done using the large needle-nose pliers in the parts picture earlier above.
After an initial test of the element, we discovered a bright hot spot on the element just before the mending point. This was a thermal stress point because a very small section of the element wire was carrying current for both coils of the burner. This would, for sure, be a future fail point of the element if left as was. I did not include a picture of the hot spot at the mending point–I was focusing on an accomodating solution and forgot to take one.
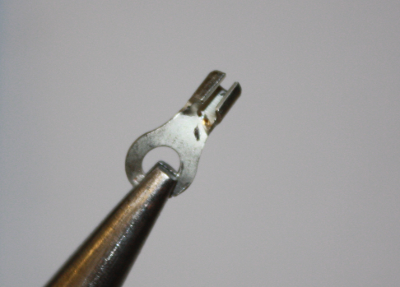
The hot spot was a problem. I had to find a way to improve the conductivity along this section of element wire. To fix the hot spot; I carefully fabricated a much larger crimping part, using a much larger standard connector from the kit. I made sure to have the larger part crimp over the smaller part and also crimp the larger connector directly onto the heavy contact point passing through the edge of the element. I had to lift the insulation just a bit to make the connection to the edge of the element. This new crimp part provided the added conductivity needed to prevent the bright hot spot at the mended point. The heavy aluminum has far less resistance than the resistive heating element; This means that the crimped section will run much cooler than the glowing element.
The charcoal colored circular element insulation, around the entire heating element is made from an extremely lightweight Corning ceramic structure. It is very brittle and easy to crumble–nearly impossible not to fracture as you try to move it even slightly. It reminds me of the material for the tiles on the space shuttle–but far less quality.
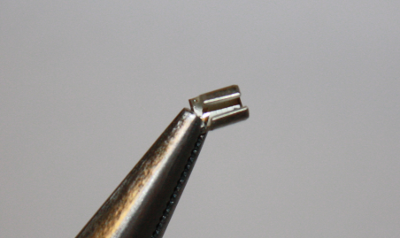
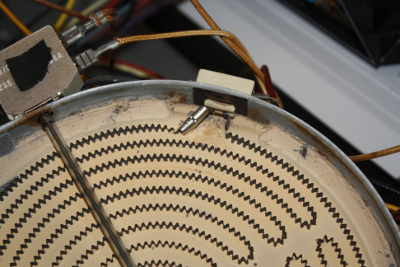
What you see below is the larger crimp part installed over top of the original and also crimped to the solid conductor at the entry point to the element assembly…

Afterwards we did a full power test on the element. You can see that it is evenly heated with no noticable hot-spots at the mending point. The mended crimp point is relatively cool compared to the glowing element. It looks great and hopefully will last a long time.
On to the left-side element. It was much easier to find the breakpoint in this element. There was a visual burn mark where it had failed, again, right near the feed conductor at the edge of the heating element assembly.
This time, learning from the previous experience, I started with a larger crimping part which was fabicated from one of the larger parts in the crimping connector kit. I crimped the part using the larger needle-nose pliers again to make solid electrical contact.
Notice also that I removed the insulation ring temporarily to provides access towards the edge of the element.
After replacing the insulation ring and performing a successful full-power test, we begin to re-assemble the range.
With wallet still in-tact and the range installed again into the kitchen; We use the repaired center element on the right-front to heat up lunch.
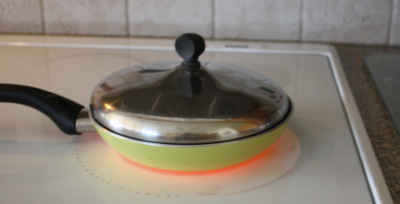
…and celebrate success with a hot meal and a great tasting brew from Great Lakes brewery.

How much $ did we get paid ??
There are lots of different ways to look at this. It helps to consider that by saving $320 and spending about an hour to complete the work, we got paid $320 per hour to fix the range. If we had a repair technician do the work it would have cost an additional $80 or so making it $400. Considering all, we might consider that we got paid $400 per hour cash (take home) to fix our own range, and we learned some new skills–what a deal! That’s a big win.
Update - This solution worked for only about 4 weeks!
It has been 4 weeks and both of the repaired elements have failed again. In hindsight I probably should have chosen a better crimping material, such as a steel clip or short section of a small tight spring to hold the element together. The light gauge aluminum material crimp was probably going through too much thermal stress. Another approach might have been to spot-weld the element instead of using crimping part. A small Arc Stick Welder could be purchased for around $120. That would have probably done the trick.
Time for a new range
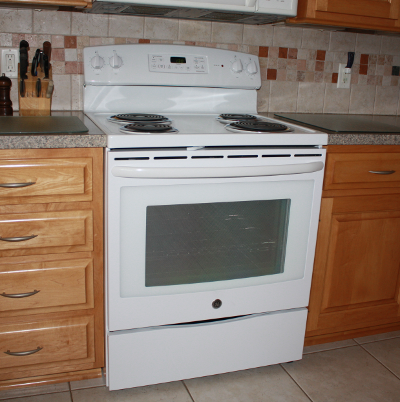
I decided to forgo further work on the older slide-in and ordered a new range. This time around we picked a slightly upper-model coil type from GE, model JBP35DDWW. I am impressed with this one. It has a much larger oven and some very serious heat capacity on the range-top. It costs less than half the price of the original Fridigair slide-in. The GE outperforms the Frigidair slide in by a long shot. The new unit has 2 3000 watt 8 inch coils on the range top. The direct coil contact heat elements transfer heat far better than the glass top on the earlier unit. The new coil range cooks far more quickly than the glass top range. If a burner goes out, it costs only $20 to $30 dollars to replace it. I will never buy a glass top range again–they are inferior over-priced junk!
Disclaimer:
The information provided here is not a suggestion or endorsement that anyone should attempt to perform the activities shown or described. This information is provided as-is to show how I solved the problem described. Any repairs you make are done at your own risk. The author assumes no responsibility or liability for the actions of others or the results obtained or problems encountered, including loss of any kind, from use of the information on this site.
In other words; You better know what you are doing before trying your own repair work. If you are unsure as to what you are doing, then seek out a qualified service technician to perform the work.
document date: 2013-04-21
